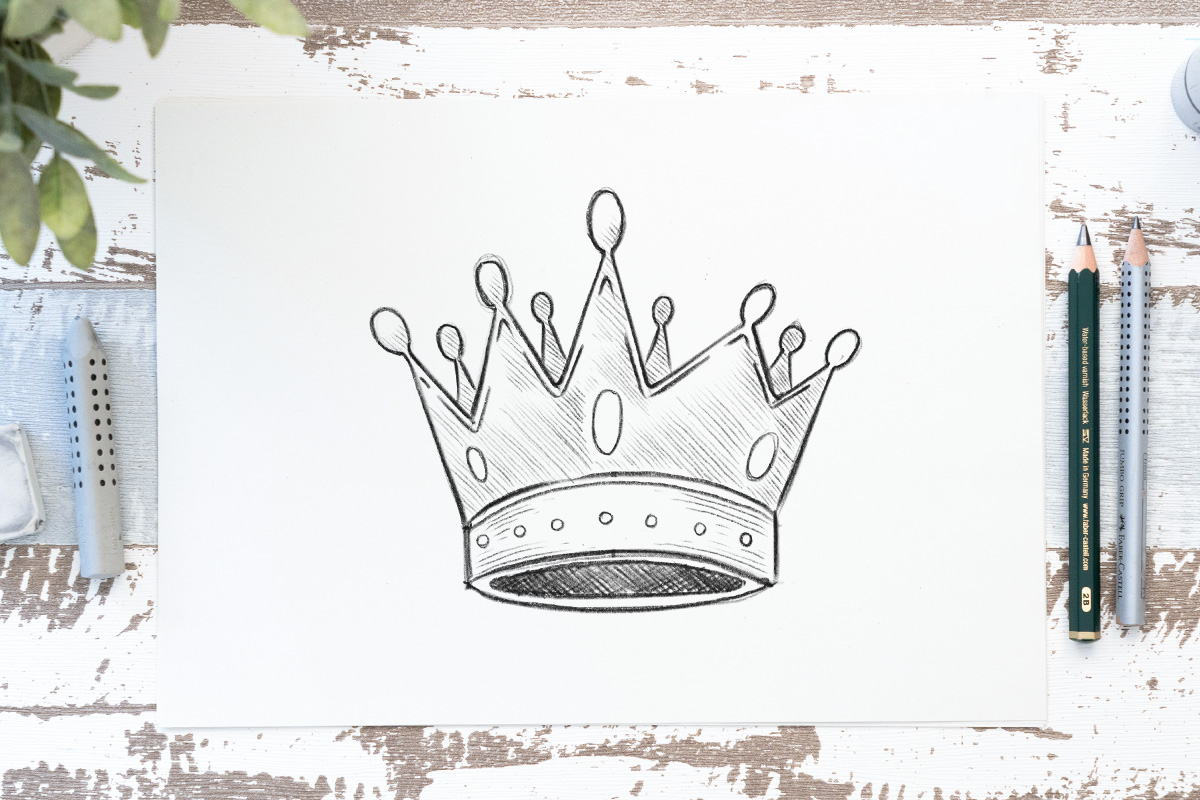
We want to draw a crown! The desired object is a shining king’s crown. Today I’ll show you the best way to draw this kind of crown and I will guide you through the process based on a simple technique. I’ll demonstrate all the drawing steps for you. Prepare your pencil right now!
Contents
Using a basic upside-down T line
The first step is to draw a primary upside-down T line. We use a simple straight line on horizontal and vertical sides. That will form an inverted T.
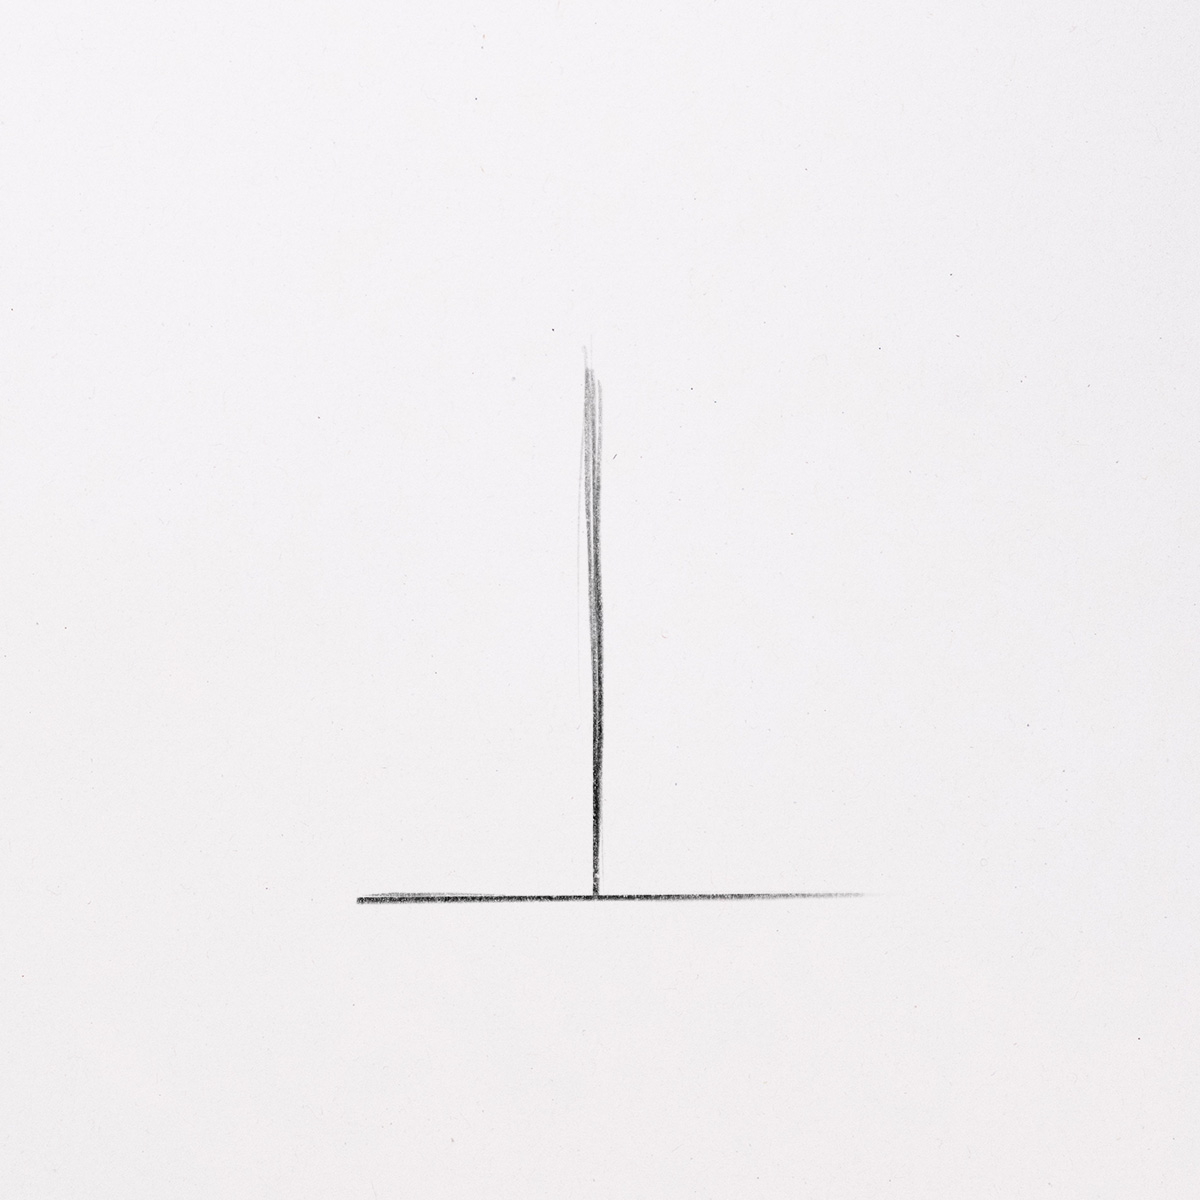
The crown has a slightly complex shape, consisting of several triangular shapes, rectangles, and circles. Guidelines are needed to make it easier to draw complex objects.
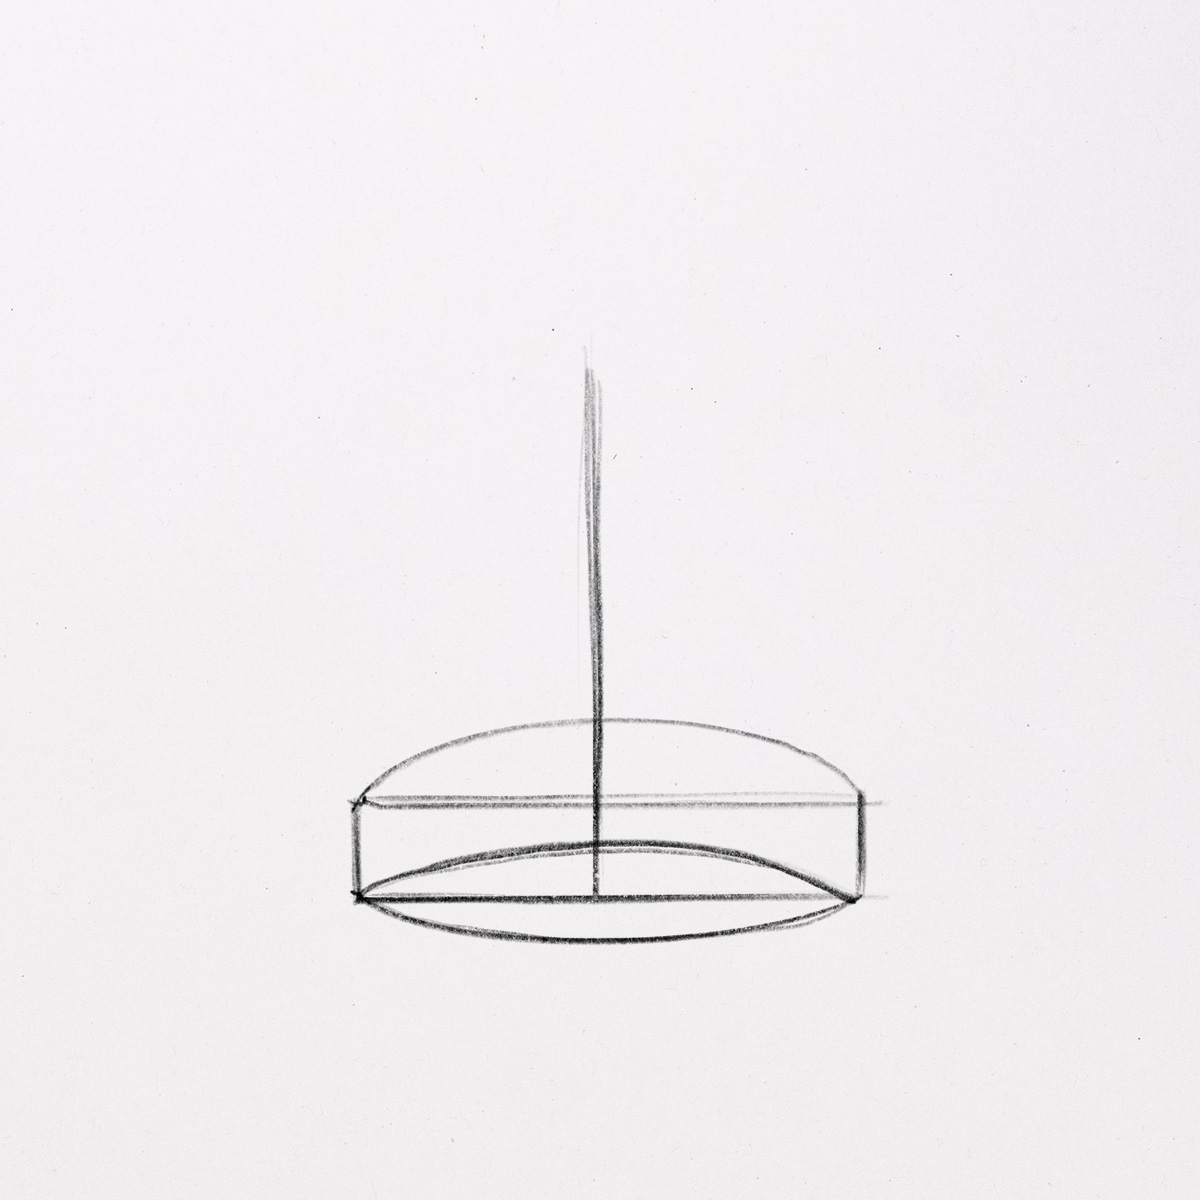
Drawing the basic shape
The next step is to add a rectangle shape at the bottom. That will be a foundation for the triangular shape of the crown.

Next, let’s draw some curved lines at the corners of the rectangles. That way we are creating a circular crown shape. Having this basic shape makes the following steps easier.
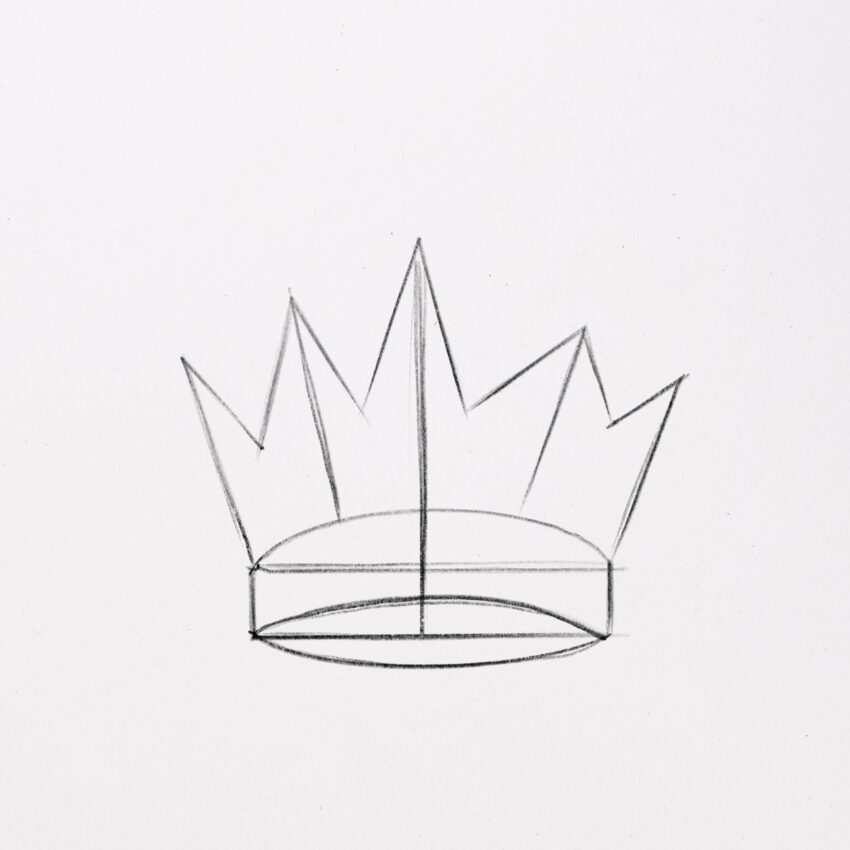
At this step, we will draw four new lines. Using these new lines you are defining the height of the crown.
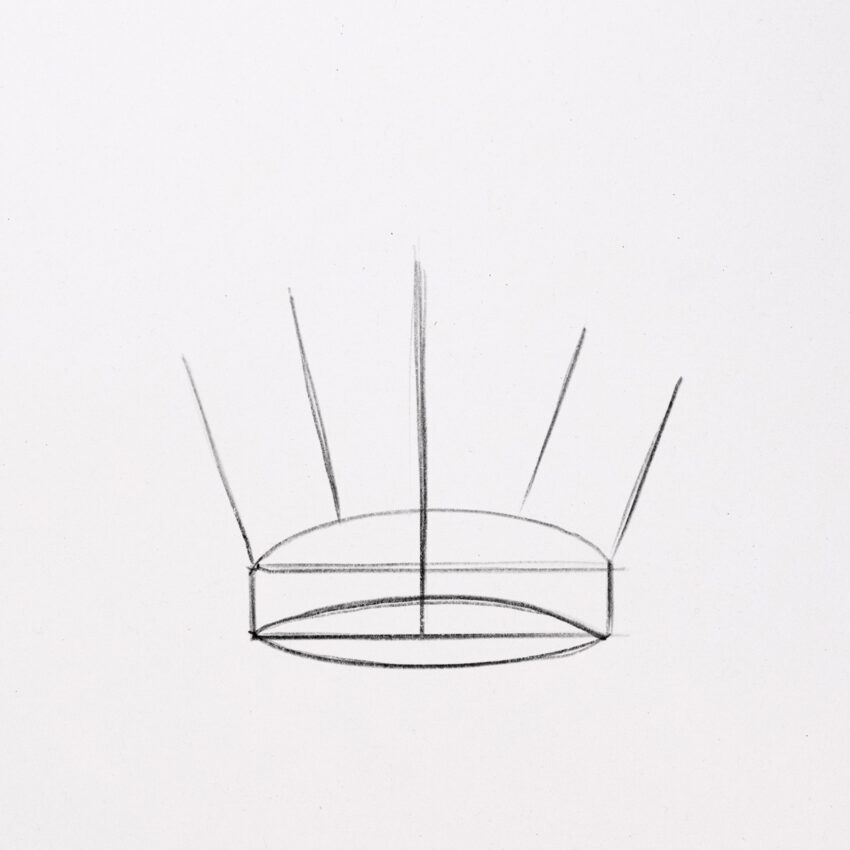
After that, connect each straight line to form a triangle. You could also add some more guidelines in between if needed.
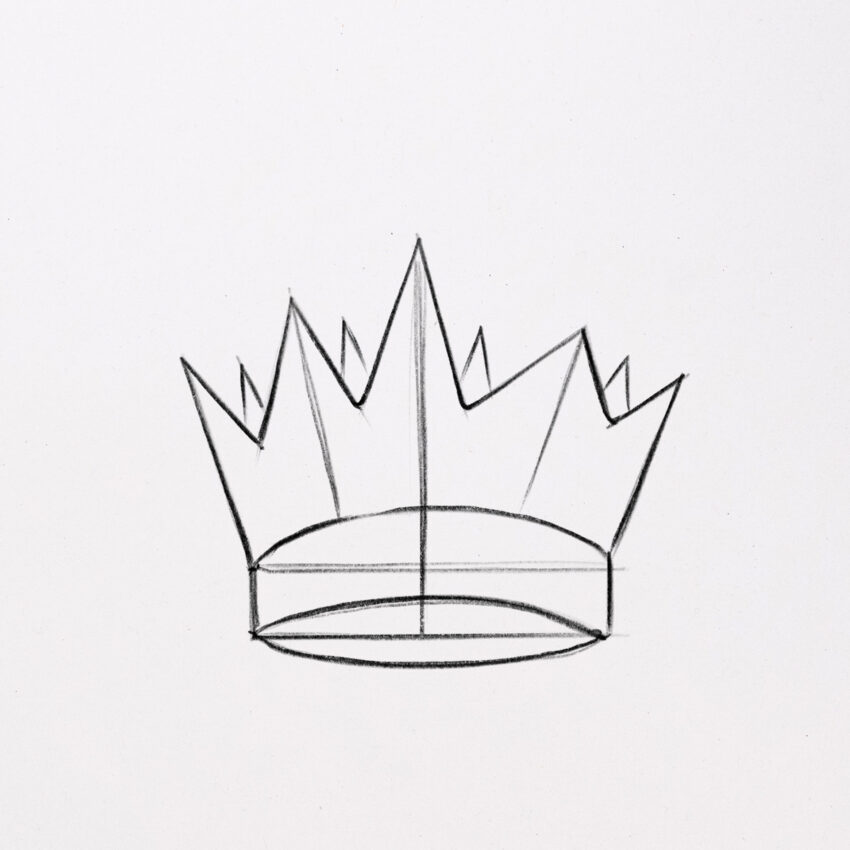
Now add some small triangles in the back to make the crown look circular. This also adds some depth to our drawing.

Delete the T line and other auxiliary lines
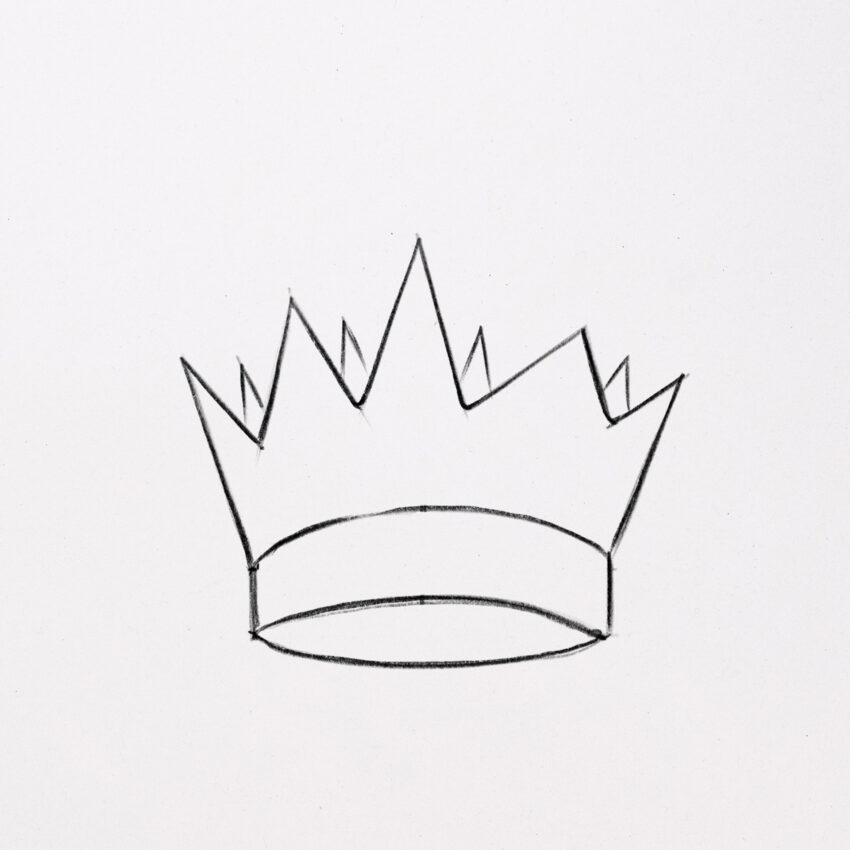
Now it’s time to make the drawing look softer and less stiff. We’re going to thicken the lines that make up the crown.
Then you only need to remove some of the guidelines. At this moment you already have a basic drawing of a crown. But we need to add a little detail to get a more beautiful result.
Adding some gems to the crown
The crown is a tribute and identity used by a Ruler. So that it has a shape that is not only luxurious but also beautiful, as there are several ornaments on the crown.
When we want to draw details on the Crown, it should look luxurious. The character must look beautiful. We will add some circles on the surfaces that will look like diamond grains surrounding the crown surface.
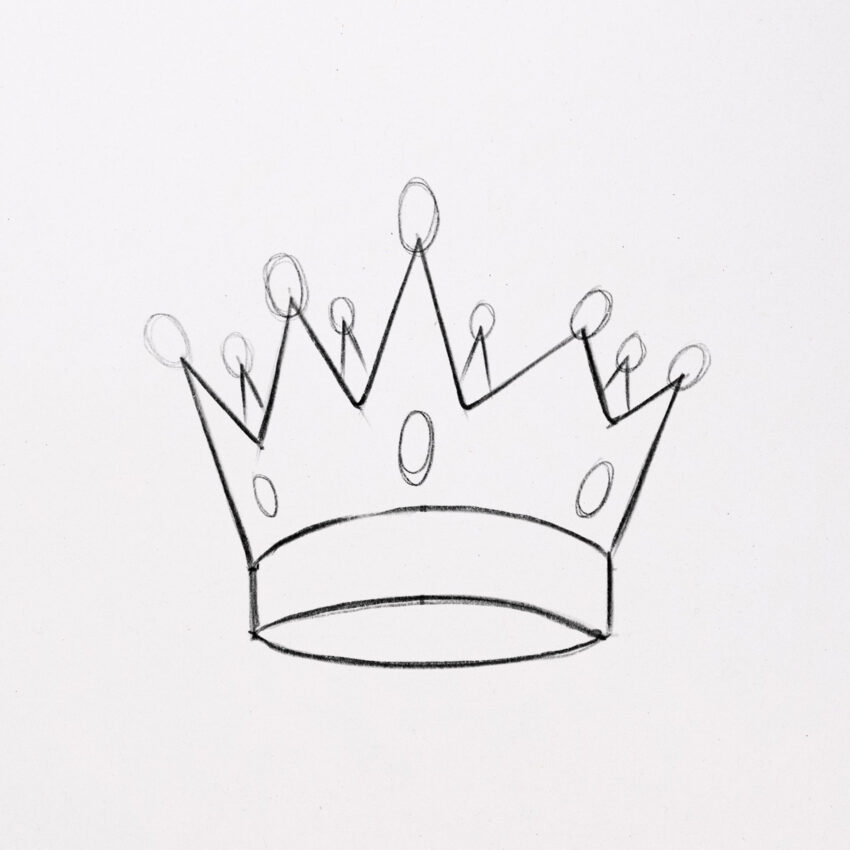
After adding some circles, combine them with the ends of the Crown. It will look neat and organized. Don’t forget to draw a small circle in the shape of a diamond.
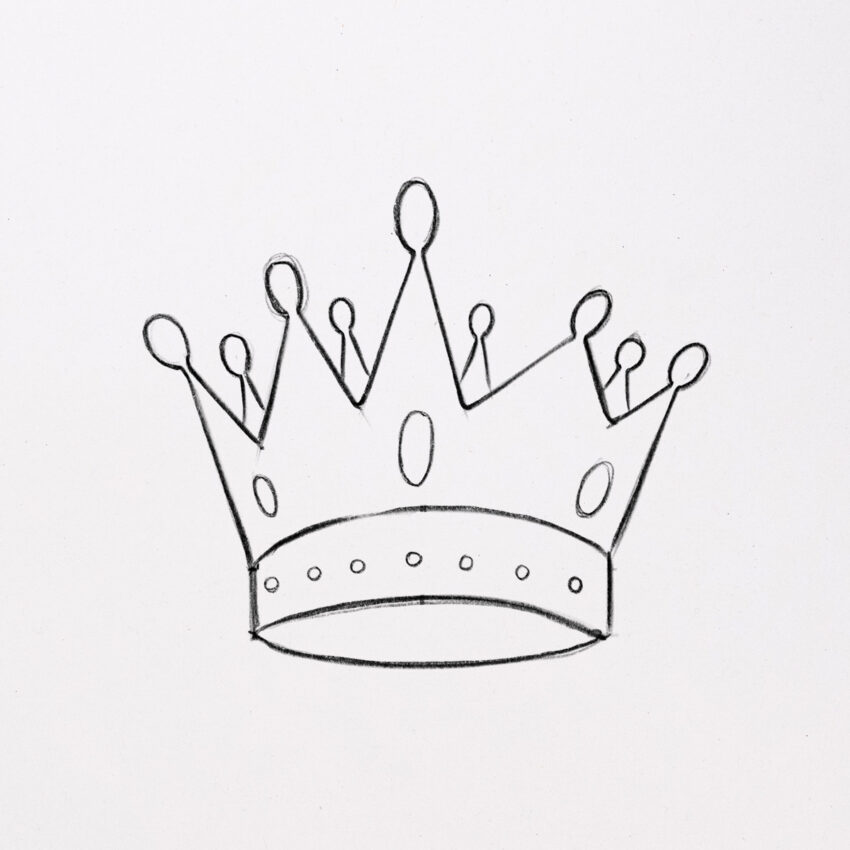
With these new details, our crown will not only look more luxurious, but also more realistic.
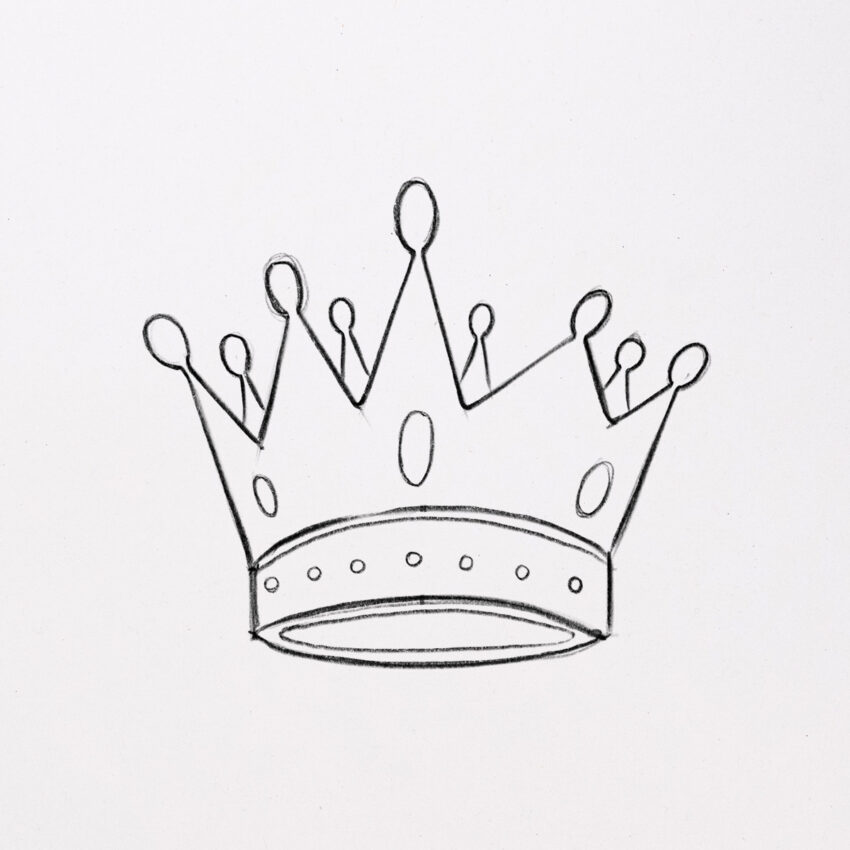
Detailing the crown
In this step, you only need to draw a few curved lines to make the details more shown. The crown also looks a little thicker by doubling the basic lines at the bottom.
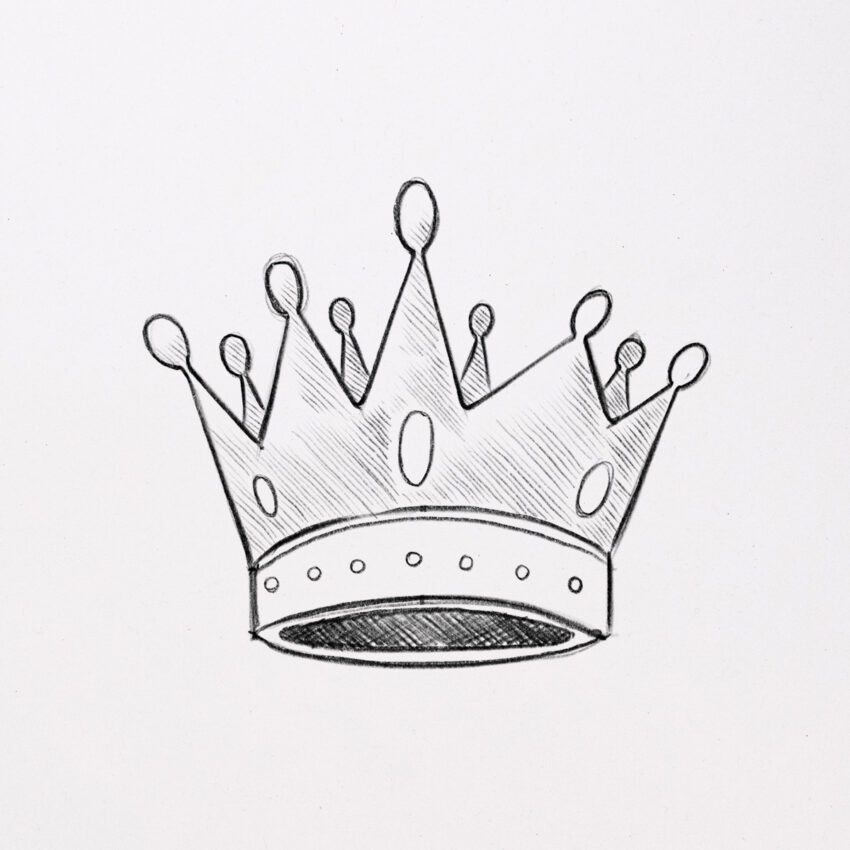
Adding tone values
Because we only use monochrome colors in our drawing, we now add different tonal values to make the crown look more realistic and shiny.
Before adding the shadows, think about where the light falls on the object. And also add a darker cross hatch at the bottom of the crown to make it visible which parts are more exposed to the light and which are not.
I only use a simple hatch and cross hatch. There are two different shading thicknesses, thin shading for parts exposed to light and thick shading for those that are not.
Final touches
For the final touch, we can add some lines to the triangle and rectangle shapes. Lines serve to clarify flat and circular parts. They also make the crown look more complete.
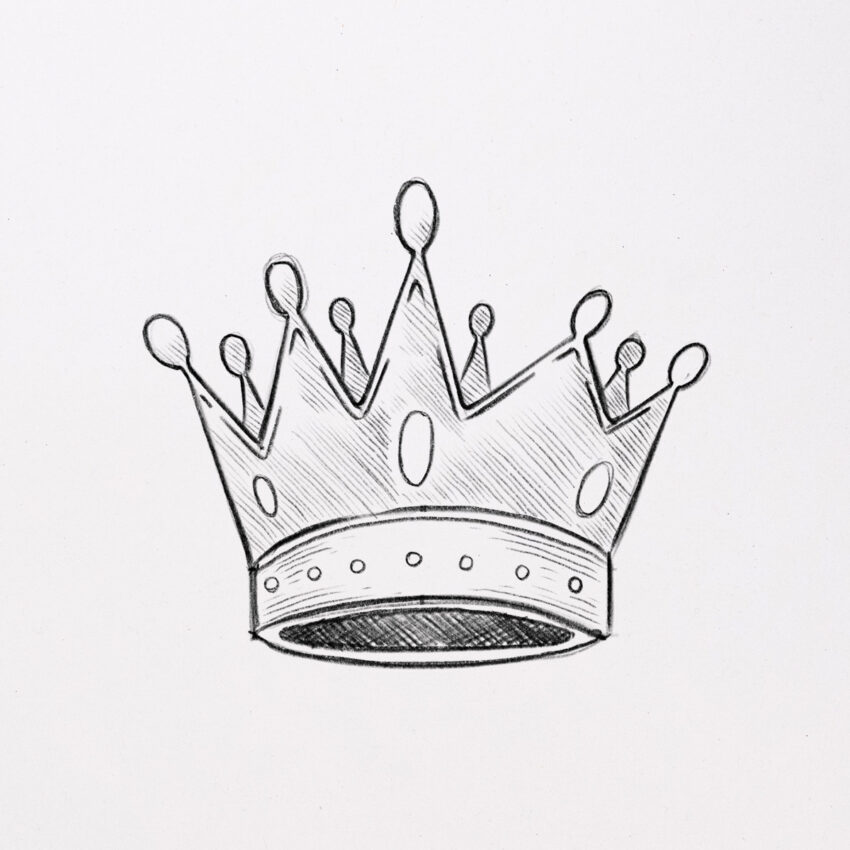
With that, we’ve finished the drawing of a king’s crown! You can continue the drawing by adding more and more details or additional gems.
